在Android上搭建MQTT Broker
所需工具
- 一台 Android 设备
- Termux:是一个 适用于 Android 的终端模拟器,其环境类似于 Linux 环境
- 笔者使用的版本:
termux-app_v0.119.0-beta.2+apt-android-7-github-debug_armeabi-v7a.apk
- 笔者使用的版本:
Termux环境搭建
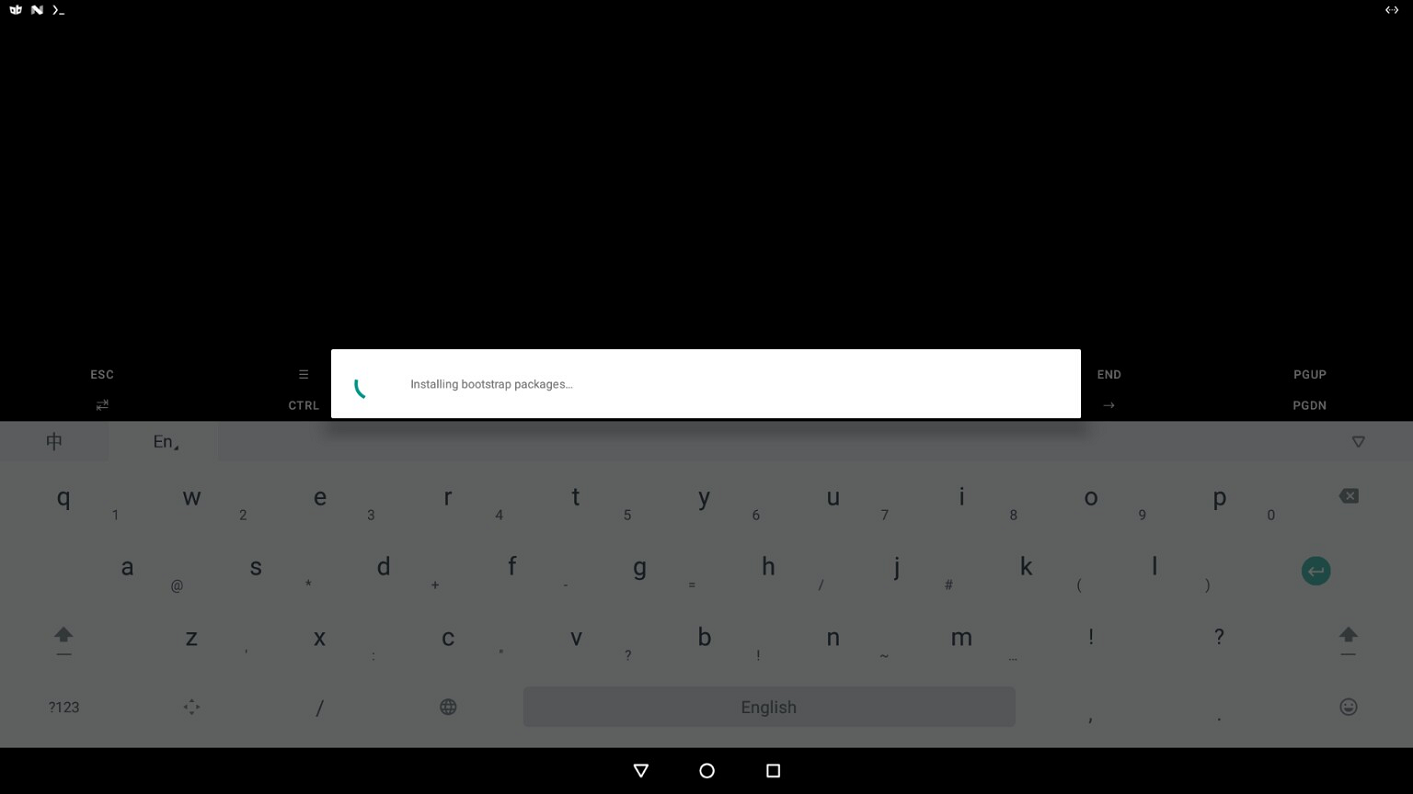
在 Android 设备上安装 Termux Apk,随后打开 Termux。首次打开 Termux 时会提示正在安装初始化文件,此时请确保终端处于联网状态,如下图:
更换阿里云源
新版本更换软件源非常简单,一条命令即可:
termux-change-repo
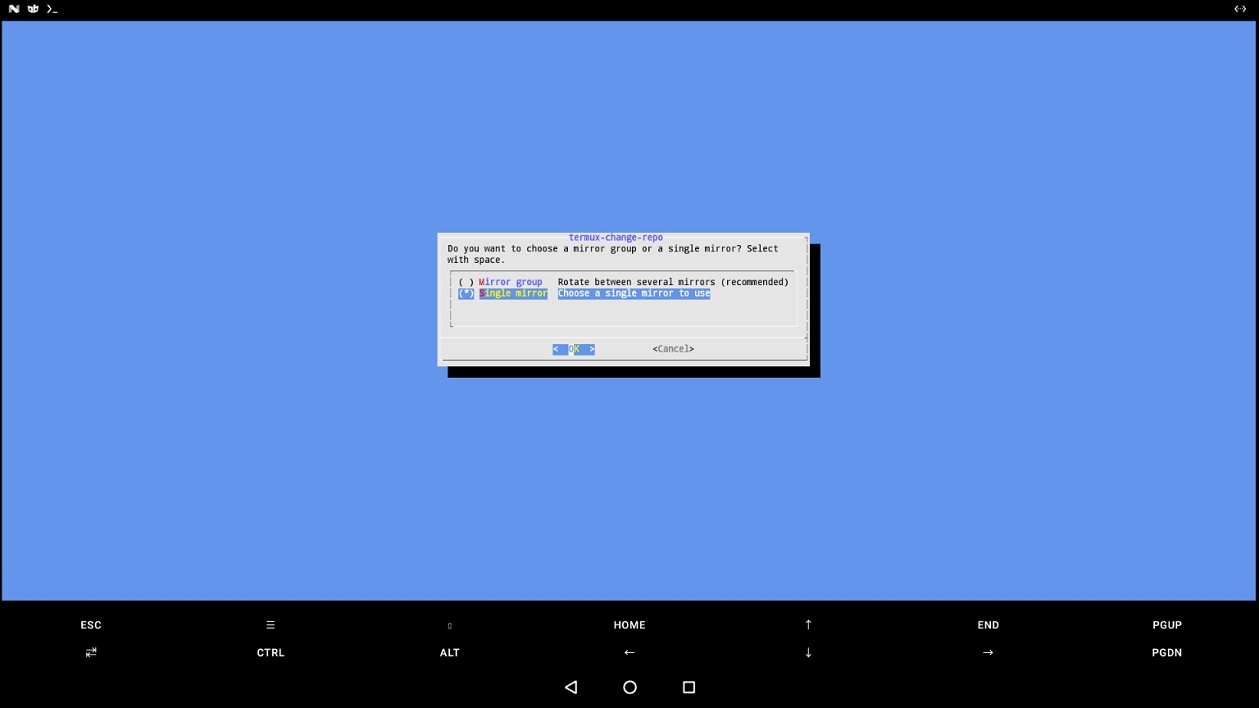
然后会打开一个对话框,询问是使用源组还是单个源,源组中包含多个源。
使用 方向键 进行选择,空格键 进行选中,这里笔者选择更换单个源:
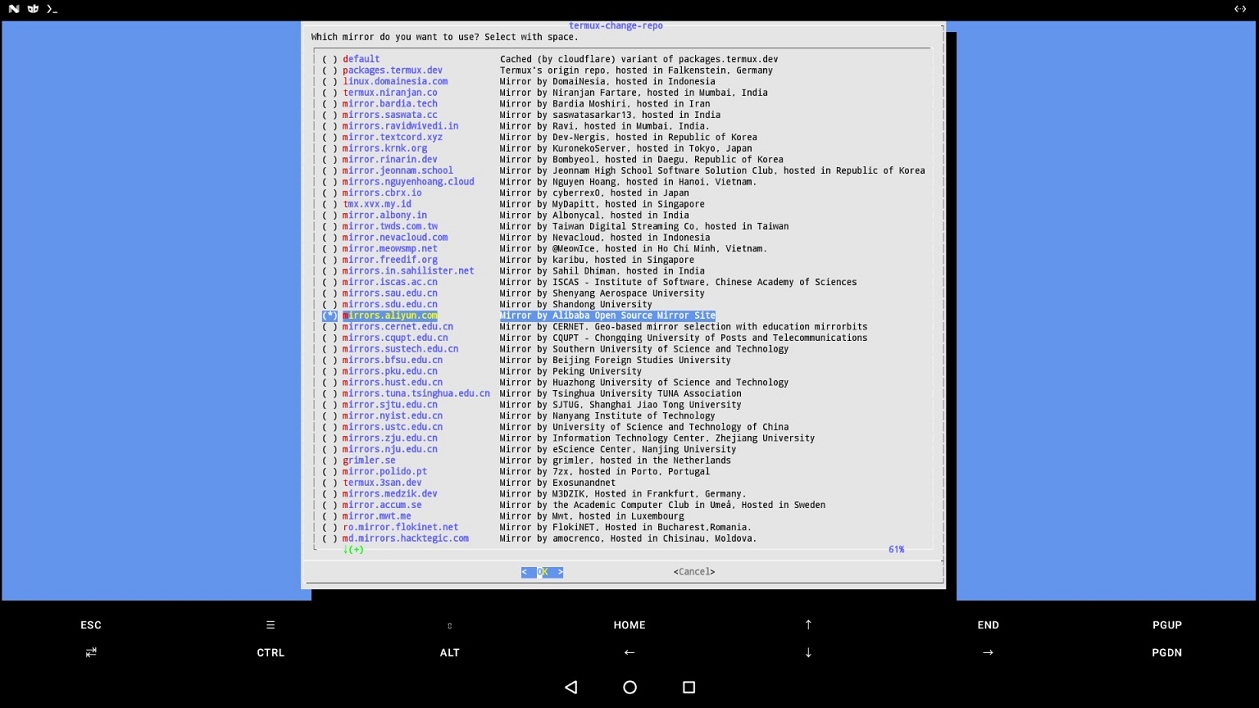
随后会打开选择单个源的对话框,在其中选择 阿里云源:
然后更新软件到最新版本:
pkg upgrade -y
Mosquitto环境搭建
安装Mosquitto
pkg install -y mosquitto
配置Mosquitto
创建配置文件
mkdir -p $HOME/.config/mosquitto  # 创建配置目录
vim $HOME/.config/mosquitto/mosquitto.conf  # 编辑配置文件
生成密码文件(如果需要)
# 创建用户(username替换为你的用户名)
mosquitto_passwd -c /data/data/com.termux/files/home/password username

# 连续输入两次密码(输入时无回显)
配置文件说明
# 默认端口
port 1883

# 安全策略:允许匿名连接
allow_anonymous true

# 安全策略:禁用匿名连接
allow_anonymous false

# 密码文件路径,如果禁用了匿名连接
password_file /data/data/com.termux/files/home/password

# 监听端口9001以处理websocket协议
listener 9001
protocol websockets
启动Mosquitto服务
手动启动
# 前台启动(调试用)
mosquitto -c $HOME/.config/mosquitto/mosquitto.conf

# 后台持续运行(正式部署)
nohup mosquitto -c $HOME/.config/mosquitto/mosquitto.conf &
自启动
使用 Termux-services 创建 mosquitto 的自启动服务。安装:
pkg install -y termux-services
创建自启动脚本
在 $PREFIX/var/service/ 目录下创建子目录,子目录名即为自启动服务名,这里使用 mosquitto 作为自启动服务名:
mkdir -p $PREFIX/var/service/mosquitto
然后创建执行脚本 run 文件:
vim $PREFIX/var/service/mosquitto/run
向脚本中添加以下内容:
#!/data/data/com.termux/files/usr/bin/sh
exec mosquitto -c $HOME/.config/mosquitto/mosquitto.conf 2>&1
保存,赋予其执行权限:
chmod +x $PREFIX/var/service/mosquitto/run
配置服务输出日志
创建日志目录:
mkdir -p $PREFIX/var/service/mosquitto/log
在日志目录中创建执行脚本 run 文件:
vim $PREFIX/var/service/mosquitto/log/run
向 log/run 脚本中添加以下内容:
#!/data/data/com.termux/files/usr/bin/sh
svlogger="/data/data/com.termux/files/usr/share/termux-services/svlogger"
exec "${svlogger}" "$@"
保存,赋予其执行权限:
chmod +x $PREFIX/var/service/mosquitto/log/run
启用自启动服务
termux-services 相关操作命令如下:
sv-enable mosquitto		# 将mosquitto服务设为自启动
sv-disable mosquitto	# 取消mosquitto自启动
sv down mosquitto		# 停止mosquitto服务,并使本次Termux运行期间mosquitto自启动服务失效
sv up mosquitto			# 启动mosquitto服务
sv status mosquitto		# 查看mosquitto服务运行状态
开机自启
创建自启脚本
在 Termux 中创建目录 mkdir ~/.termux/boot/,然后将你想执行的脚本文件放到此目录下,多个脚本文件会以文件顺序执行。
在 ~/.termux/boot/ 目录下新建 mosquitto 脚本文件:
vim ~/.termux/boot/mosquitto
向脚本中添加以下内容:
#! /data/data/com.termux/files/usr/bin/sh
termux-wake-lock
mosquitto -c $HOME/.config/mosquitto/mosquitto.conf
保存,赋予其执行权限:
chmod +x ~/.termux/boot/mosquitto
使用Termux:Boot启动自启脚本
下载并安装 Termux:Boot,安装完成后打开一次 Termux:Boot,然后测试重启Android设备。
使用代码启动自启脚本
使用代码启动自启脚本,其中的代码来自 Termux:Boot:
private const val TERMUX_PACKAGE_NAME = "com.termux"
private const val TERMUX_SERVICE_NAME = "com.termux.app.TermuxService"
private const val ACTION_EXECUTE = "com.termux.service_execute"
private const val EXTRA_EXECUTE_IN_BACKGROUND = "com.termux.execute.background"

@SuppressLint("SdCardPath")
private const val BOOT_SCRIPT_PATH: String =
    "/data/data/com.termux/files/home/.termux/boot/mosquitto"

fun startMosquitto(context: Context) {
    if (!context.isTermuxInstalled()) {
        Log.d(TAG, "startMosquitto: 尚未安装Termux")
        return
    }

    val scriptUri = Uri.Builder().scheme("com.termux.file").path(BOOT_SCRIPT_PATH).build()
    val executeIntent = Intent(ACTION_EXECUTE, scriptUri)
    executeIntent.setClassName(TERMUX_PACKAGE_NAME, TERMUX_SERVICE_NAME)
    executeIntent.putExtra(EXTRA_EXECUTE_IN_BACKGROUND, true)

    if (Build.VERSION.SDK_INT >= Build.VERSION_CODES.O) {
        context.startForegroundService(executeIntent)
    } else {
        context.startService(executeIntent)
    }

    Log.d(TAG, "startMosquitto: completed")
}

private fun Context.isTermuxInstalled(): Boolean = try {
    packageManager.getApplicationInfo(TERMUX_PACKAGE_NAME, 0)
    true
} catch (e: Exception) {
    false
}
备份与恢复
备份不及时,数据两行泪!!!官方镜像打包恢复方法Wiki。
备份
确保 Termux 取得存储访问权限:
termux-setup-storage
备份文件:
tar -zcf /sdcard/termux-backup.tar.gz -C /data/data/com.termux/files ./home ./usr
如果没有滥用root权限的话,等待一会应该就可以备份完成了。
恢复
确保 Termux 取得存储访问权限:
termux-setup-storage
恢复文件:
tar -zxf /sdcard/termux-backup.tar.gz -C /data/data/com.termux/files --recursive-unlink --preserve-permissions
恢复完成后需重启 Termux。
FAQ
后台运行
- 忽略电池优化